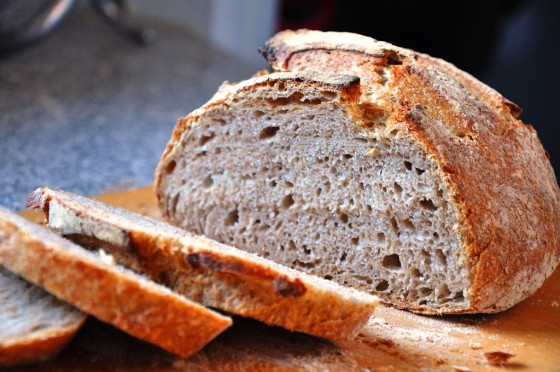
The crunchy crust, moist and chewy crumb, the heavenly scent of toasted flour and fermented yeast; bread is so much more than the sum of its parts.
It’s hard to write about bread, one of the most controversial foods these days. I feel a little bit guilty…wait no, no I don’t. It also happens to be one of the oldest, most well-documented foods in human history. Nothing more than flour, water, salt and yeast, the sticky mix magically turns into the life-sustaining foodstuff we know and love (or love to hate), with nothing more than time and heat.
Of course, not all bread inspires such poetic description. Like all good things in life, fresh bread doesn’t retain its fresh flavor or texture for long. In modern times, we’ve come up with new ingredients and technology to make “better” bread; to speed the fermentation process up, stretch the gluten to maximum capacity for increased volume and a tender crumb, increase browning, fortify the vitamin/mineral/fiber content, delay staling and retard molding.
Unfortunately, this hasn’t made bread a whole lot better. The flavor and texture suffers, as do our bodies. While scientists are still baffled by the increase in autoimmune diseases, such as celiac disease, in recent years, the industrialization of bread production certainly hasn’t helped. From selectively breeding the highest yielding/pest resistant/protein-packed wheat varietals without mind to flavor or nutrition, to decreasing the traditional fermentation time from a couple days down to just a couple hours, the effect is bread that is less easily tolerated by our increasingly sensitive immune systems.
But not all bread is equal. In several small studies (and many anecdotal stories of bakers), a long fermentation period has been shown to actually decrease the concentration of gluten in wheat bread, so much so that it could be safely served to those with celiac disease.
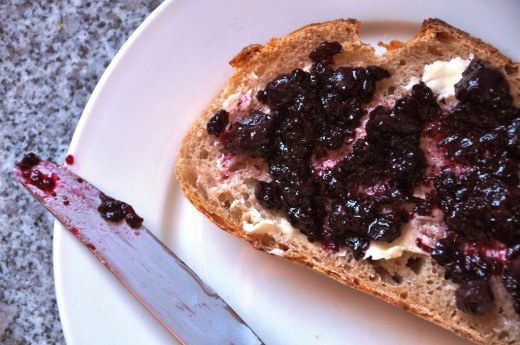
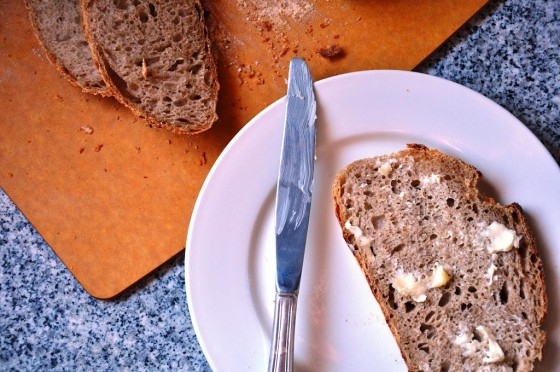
This isn’t a post on how to make gluten-free bread. It isn’t about low carb bread or quick bread. It’s about beautiful, complexly flavored, and surprisingly easy sourdough bread. I don’t really care if my bread goes stale after a few days; it means glorious toast and tender French toast, crisp croutons and bread crumbs for meatballs. It’s a pleasure to make and takes little active time, just a bit of forethought. It’s delicious with any meal of the day, especially with Sweet Victory’s Blueberry Amaretto Jam. But perhaps most importantly, it feeds the soul.
Whole Wheat Sourdough Bread
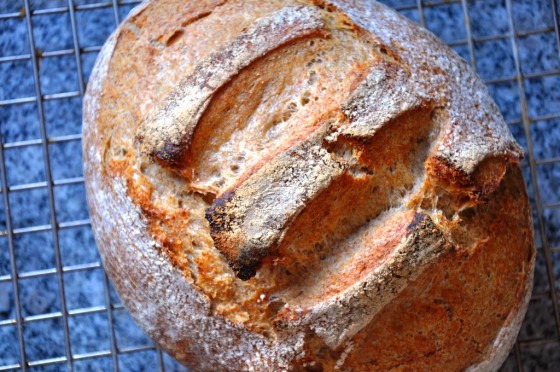
I developed this recipe after much trial and error, and was deeply inspired by Jim Lahey’s My Bread and Jeffrey Hamelman’s Bread. The no knead method is awesome, but didn’t consistently offer the loaf volume that a bit of kneading encourages. Baking the bread in a covered Dutch oven creates steam and traps the heat for an incredibly crusty loaf that rivals the best artisan loaves.
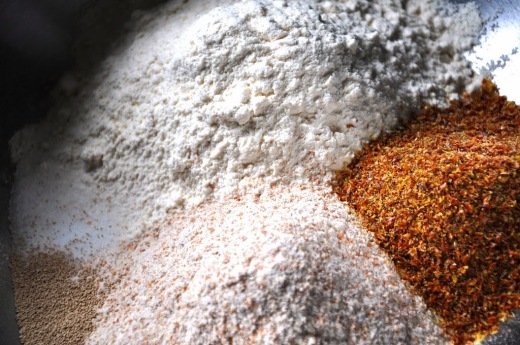
Feel free to swap out different flours (more whole wheat, rye, spelt, etc.), just make sure the total weight of flours/germ/seeds is 475 grams. Although volumetric measurements are listed here, I strongly recommend you weigh your ingredients. Here’s why.
Makes 1 loaf
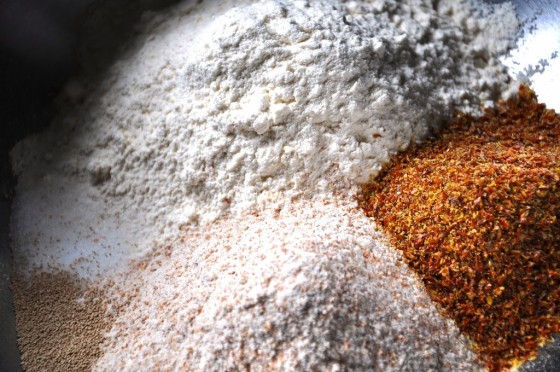
Ingredients:
300g (2 cups plus 2 tablespoons) bread flour, plus extra
150g (1¼ cups) whole wheat flour
25g (1/4 cup) ground flax seed
8g (1 ½ teaspoons) salt
200g (1 scant cup) levain, see recipe below
300g (1 1/3 cups) cool water
42g (2 tablespoons) honey, optional
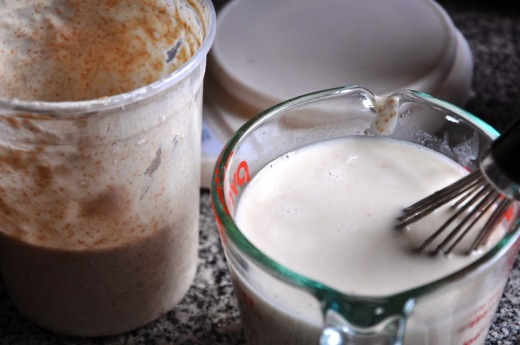
Stir togetherthe dry ingredients in the bowl of a standing mixer (or large bowl). In a separate bowl, whisk together the wet ingredients (including the levain) and pour into the dry. Stir together until combined.
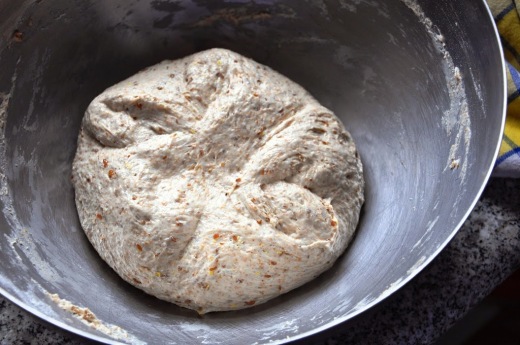
Knead for 6 minutes on medium speed (or about 10 minutes by hand—careful not to add too much extra flour, even though the dough will be very sticky), adding 20-30g (3-4 tablespoons) additional flour if the dough doesn’t clear the sides of the bowl after 5 minutes. Gather the dough into a ball, folding the edges in towards the center, and cover with a dish towel.
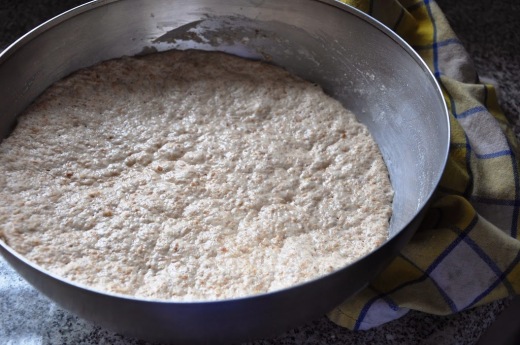
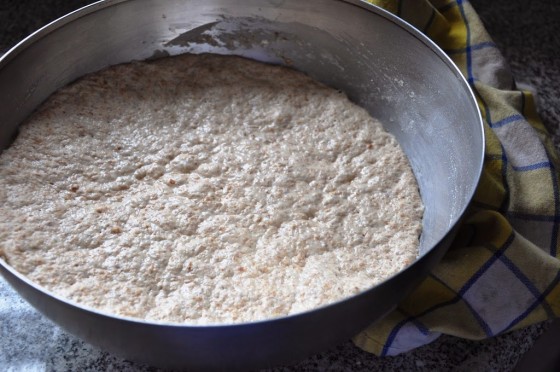
Place in a warm, draft-free spot (I use my unheated oven) for 18-24 hours. After about 8 hours, fold the dough in on itself a couple times with a spatula, then recover and repeat again after another 8 hours (the timing doesn’t have to be absolutely perfect). This degases the dough, aligns the gluten strands for better texture and reintroduces fresh food to the yeast.
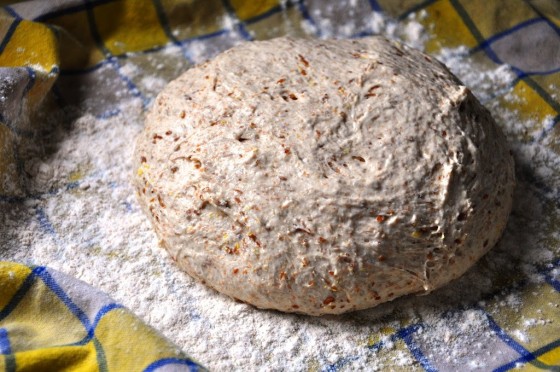
Shape the loaf by picking up the dough with floured hands and tucking the edges in underneath, forming a tight ball (the dough will be very sticky). Coat the dough very generously with flour and place on a well-floured dish towel, then fold the ends of the towel loosely over the dough. Allow to rise for 1-2 hours.
Preheat the oven to 475 degrees 30 minutes before the end of the second rise. Place a Dutch oven with a lid (unscrew the plastic handle though—it will melt) on the middle rack. When the dough has almost doubled in volume, take the pot out of the oven, uncover and dust the bottom with flour. Place the dough gently in the pot and use a very sharp knife or scissors to make several cuts (3-4) on the top of the loaf; replace the lid and bake for 30 minutes.
Uncover the potand continue to bake for an additional 15-30 minutes, until the loaf is very thoroughly browned. Remove to a wire rack to cool for at least 2 hours before slicing. When cool, store in a zip lock bag for up to a couple days.
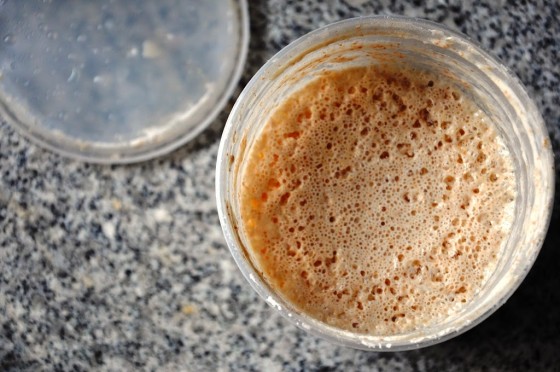
Liquid Levain (Sourdough Starter)
180g (1½ cups) whole wheat
180g (3/4 cup) water
Mix the flour and water together well in a container with a lid. Set the lid askew on top of the container (mostly covered but not shut) and allow to stand at room temperature for 24 hours. Pour off half the mixture (use in pancakes or crepes and the like). Add the same amount of flour and water listed above, mix well, set the lid on top and allow to stand at room temperature another 24 hours.
Feed the levainby repeating the above step for seven days. At this point it should be ready for bread baking and can be stored in the refrigerator.
It’s ripe when the surface is covered with tiny bubbles, smells yeasty and tastes sour. If it smells rotten, throw it out and start over. It is recommended to use your levain once a week or so. If you leave your levain alone for a month, it may take longer to come back to life.
When ready to use the levain, remove from the refrigerator 24 hours in advance of baking and feed it with again (pouring off half and adding equal parts flour and water). If you want to build up the levain to make more loaves of bread, don’t throw away the half but double the amount of added flour and water.